First of all lets see what persistence USB means, as you might already know any linux OS (Operating System) can be used live which means you do not have to install the OS to try it out. pretty cool right? saves you a whole headache of installing an OS. But there is a down side to this you can not save your work, every time you boot up your live OS it starts fresh. This is where persistence USB comes in when you boot your OS persistence you can save your work in the USB, plug in to any computer and fire up your Kali OS. Now that you have a solid understanding of what we are going to create I’m going to walk you through the steps of creating it.
Requirements
- USB (minimum capacity 8GB)
- A disk imaging software
Create a bootable USB using a software of your choosing. I recommend “Etcher” due to its simplicity and reliability.

Etcher
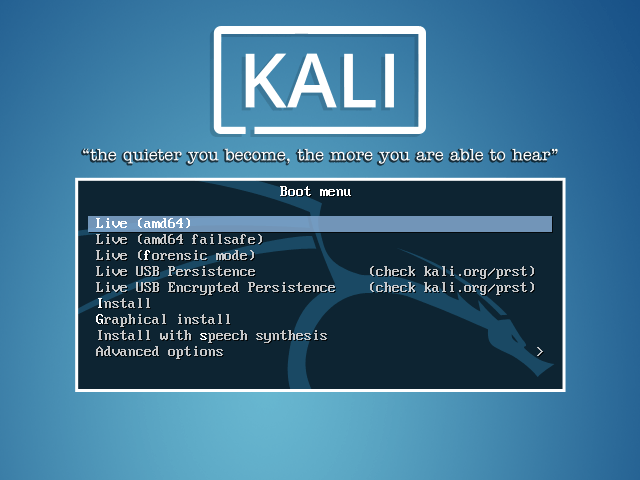
Next step is to boot up you newly created USB by restarting, most probably pressing F12 then selecting the USB drive and after that you will be greeted with Kali grub, from that select the option “Live USB Persistence”.

Select Kali live boot option
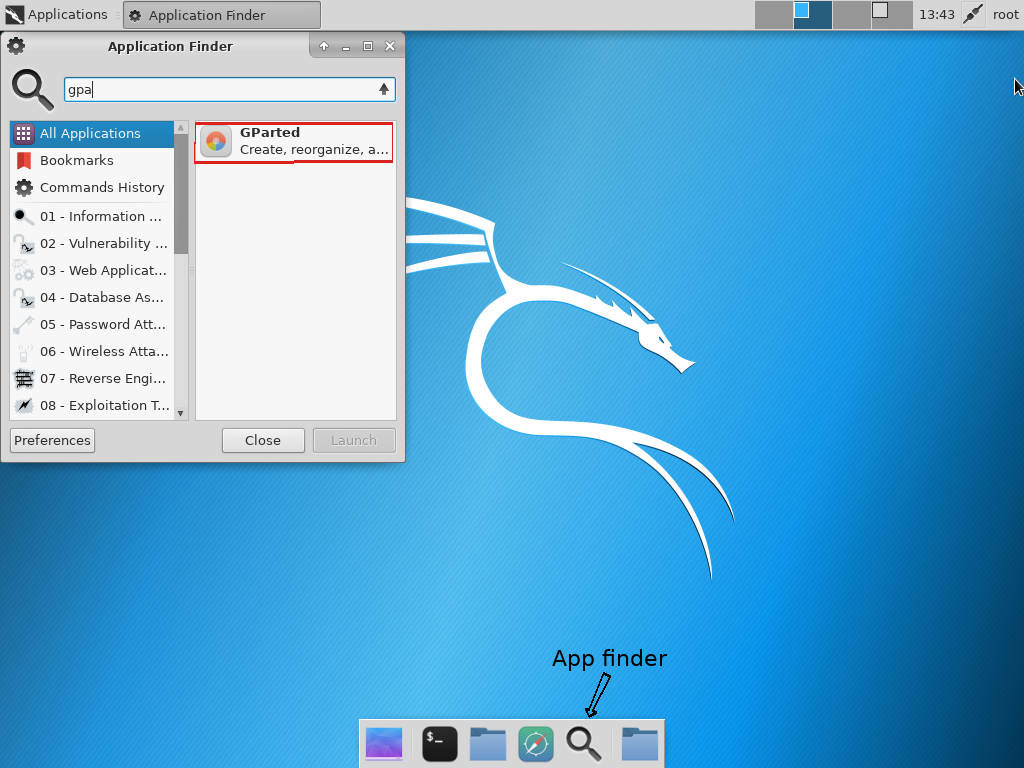
After booting Kali using default username(‘root’) and password(‘toor’) open the software “Gparted” this software is used to manage disk partitions which has a GUI making it more user friendly.

Gparted
When you open Gparted you should see two partitions and a unallocated space, we are going to use this unallocated space as our persistence partition. Lets start with formatting the partition in “ext3” format and naming it “persistence”.

Creating a partition for Persistence operations

Now you need to recognize the path of “persistence” partition in Gparted as we are going to use it later, mine is “/dev/sda3” this is the partition we just created. Open a terminal and type the following commands and replace “/dev/sda3” with your path of persistence partition
mkdir /mnt/usb
mount /dev/sda3 /mnt/usb**
echo "/ union" >> /mnt/usb/persistence.conf**
umount /mnt/usb
Congratulations! now you have your favorite pentesting OS in persistence mode.
Stay tuned for the Part 2 on “how to create a self destructible encrypted USB“
